How to Make a Photo Montage Without Photoshop

Sometimes a photo looks good but it misses something that will make it unavoidably attractive. If you want to create an appealing picture, there is no other way than to learn how to make a photo montage. Be it an elaborated collage, a single added-in design element or a replaced part of the picture, a photo montage can look so natural as if the image hasn't been edited at all. However, there are montages different in style: created for the sake of being recognized as photo montages among other non-edited pictures.
Both types are easy to create if you have a photo montage program that allows you to work with layers. Don’t have enough time to master something complicated like Photoshop? Try a user-friendly piece of software like Home Photo Studio and enjoy its intuitive interface. You can even make use of the built-in gallery with images and clipart to create your photo montage without searching for the necessary pictures all over the Internet.
Here are the steps:
Download your Home Photo Studio now!
Step 1 - Get Started
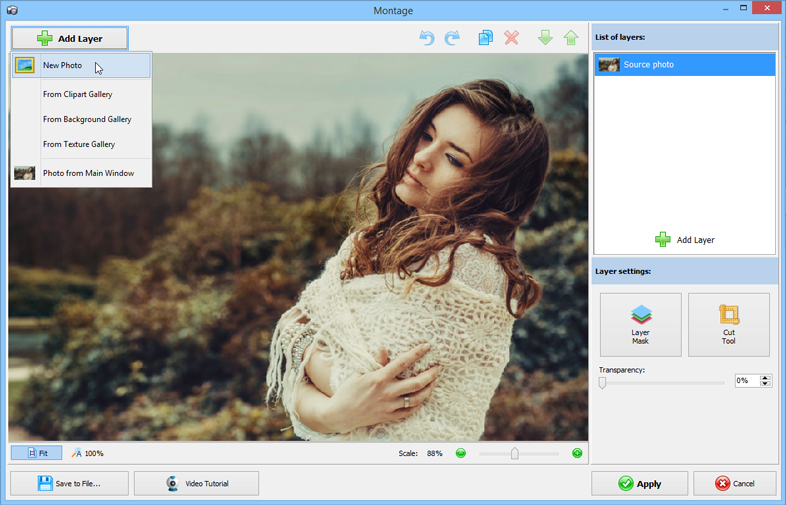
Install Home Photo Studio on your PC and select the photo you want to use for your montage. Go to Decoration and chose Montage in the drop down list. A window will open showing you all the features you will need to make a superb photo montage: the Transparency and Crop tools, the Layers list where you can arrange the pictures you work on, and the galleries with images and clipart.
Step 2 - Work with Layers
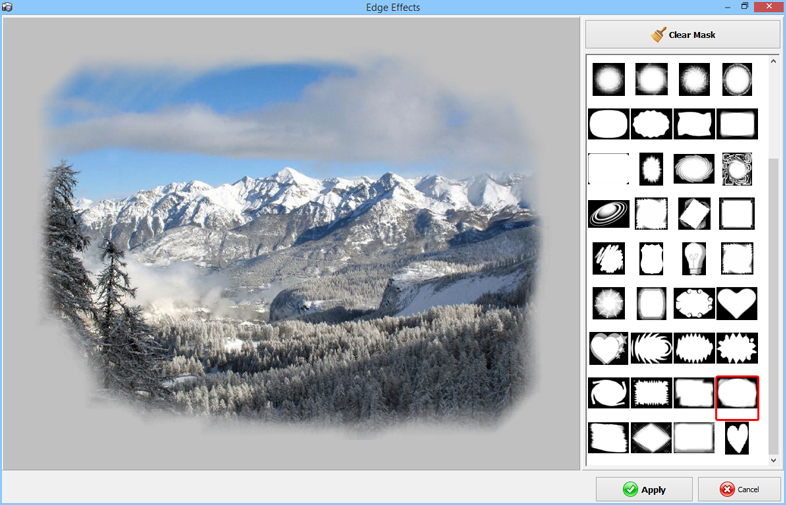
Using the "Add Layer" option, you can create montages with multiple photos from your PC. Experiment with background images and textures that Home Photo Studio comes packed with. When you add a new layer to your montage, you can easily resize it by dragging the green dots around the added element. Place it where you need and complete the look by applying a mask. It will blur the border of the image and make it merge with the original shot in a certain shape like a heart or a post stamp.
Step 3 - Crop the Photo
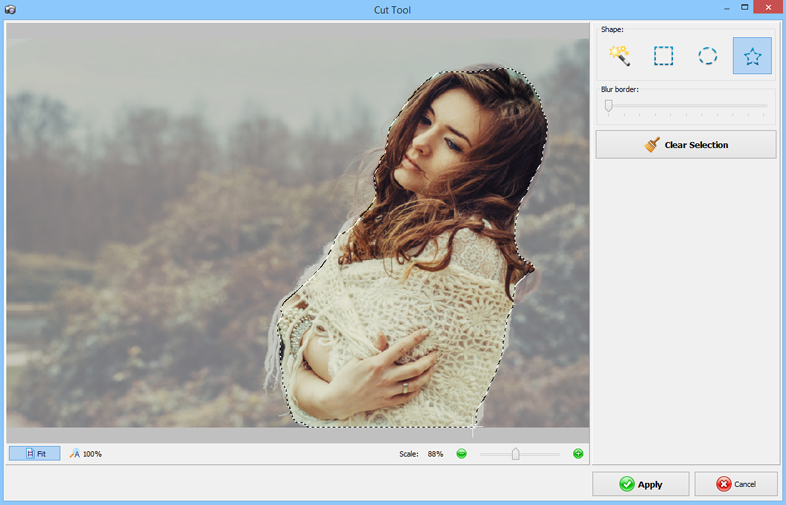
How to make a photo montage so that no one notices any digital interference? Use the Cut Tool to make your picture look natural in the final design. There are several shapes to try: rectangle, round and square. There is a freeform tool too, so do not hesitate to make your cropped photo pixel perfect. By using the Magic Wand tool, you let the software do the selection for you: just click on the necessary areas of the image that you want to keep.
Step 4 - Adjust the Transparency Settings
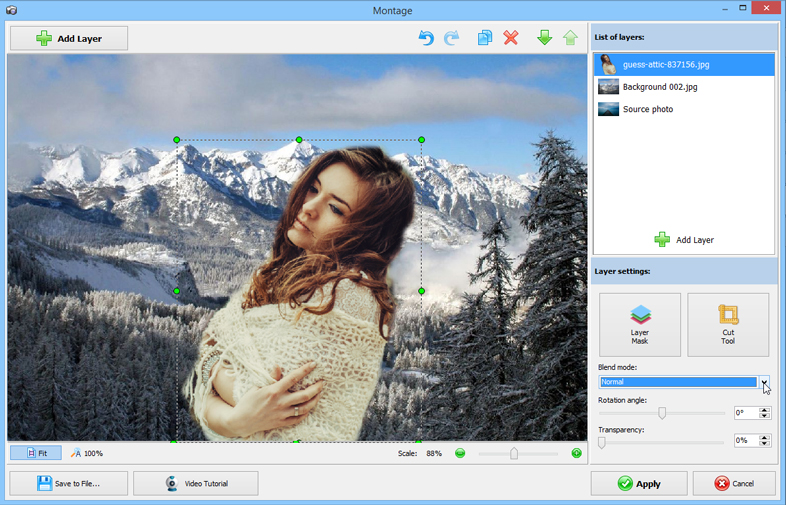
Beside making a standard collage, Home Photo Studio allows you to overlay photos on top of each other. In the List of Layers, you can see all the images used in your montage. Use the green arrows in the toolbar to the left of the list to move some elements up or down and create a perfect dimensional arrangement for your design. Adjust the transparency of each layer to make the fusion gradual or almost unnoticeable. Experiment with the blend modes to find a perfect one: try making it a high contrast or an almost invisible veil-like effect.
Apply the changes if you want to work on your design further. If you are sure that the completed picture doesn’t need any modification, save it to an image file directly from the montage editor window. In case you wish to master other secrets of photo montage, you should definitely learn how to change a background of a photo. This trick will surely improve the looks of the photos that you thought were ruined by disturbing elements looming behind the shot object or person.
Now you know how to make a photo montage without Photoshop using user-friendly software with an intuitive interface. So why wait for a special occasion? Improve your photo editing skills right now!
Download your Home Photo Studio now!
The program is compatible with Windows 11, 10, 8, 7