

Photo Editing Software
Home Photo Studio gives you the tools to easily enhance and edit digital images.
The program includes photo editing options, such as auto enhancement, retouching, red eye removal, etc. Also, it includes more than 100 special effects that can be applied to the images for a different look, including the unique plastic and 3D composition effects.
Order full version!
Creating a Portrait Photograph
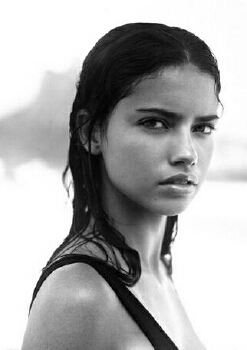
In order to address all of the nuances and rules in portrait photography, one would need to read a book, not a single article. There are all kinds of portraits with different requirements, conditions, and methods. It’s the photographer’s job to create that portrait, give the photograph its meaning. The main objective in a portrait is to display the likeness, personality, and even the mood of the subject. There’s no set of rules in portrait photography, a photograph speaks a thousand words, so make your portraits memorable. For best results, don’t be afraid to experiment, it’s possible to shoot a successful portrait spontaneously. However, we will try to highlight some basic tips in creating a portrait photograph.
1. Camera Lens. The selection of the lens depends on the portrait you would like to shoot. Lenses used in portrait photography are classically fast, medium telephoto lenses, though any lens may be used, depending on artistic purposes. Wide angle lenses are more affected by perspective distortions. To enhance artistic effects in portrait photographs one should think about using the rules of composition in photography.
Aperture determines the depth of field. Rules of portraiture include opening the aperture to reduce its depth of field. As a result, the subject acquires volume and texture, thus causing the background to blur. When taking portraits use fairly fast shutter speeds to achieve the most natural images.
2. Lighting. Properly selected lighting is one of the fundamental requirements in portrait photography. One of the most basic lighting plans is called three-point lighting. This plan uses three to four lights to enhance details and create a three dimensional view of the subjects features. The three main lights used in this light plan are as follows:
The Key Light also called the main light is usually placed 30 to 60 degrees from the center of subjects face, and a bit higher then eye level. This is the main light of the three-point lighting plan and produces the strongest amount of light.
The Fill Light fills in or softens the shadow on the opposite side of the face. It is placed opposite of the Key light and the brightness of the light should be 1/3 to 1/4 of the Key light. The purpose of the key light is to imitate reflected light from a wall in a room.
The Rim Light also called the back light is placed directly behind the subject, out of the portraits view, and usually higher then the Key Light. The main purpose of the Rim Light is to separate the subject from the background, and highlight the subject’s hair and shoulders.
Studio photography also involves the use of flash. It is not recommended to use built-in flash for portrait photography, since it makes the image flat, and the flash can give of too much light. When using flash, set it on a tripod, it will increase your chances in taking a good picture. Also use a reflector with flash, this will highlight the shadows and make objects more voluminous and expressive. For a reflector, use an ordinary sheet of paper.

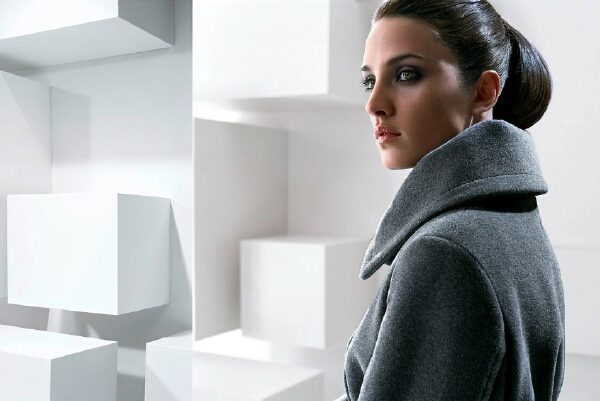
3. Background. Background in portraits should be placed at a distance of about 4 to 7ft, the idea is for the background not to fall in to focus. Since this is a portrait photograph we want the viewer to concentrate on the main subject in the portrait. A good solution for backgrounds is to use monochrome background (single color) or blur the background by increasing the aperture.
Here we have given some tips in creating portrait photographs. Use these tips to enhance your ability in shooting portraits; we certainly hope these tips have been useful to you. Practice makes perfects, with time and effort you will be able to produce high quality photographs and become an expert photographer.
Download your Home Photo Studio now!
The program is compatible with Windows 11, 10, 8, 7