How to Remove Red Eyes from Photos
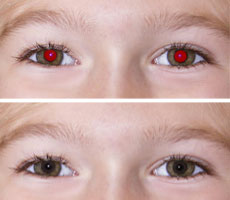
Even after you have improved the photo composition and removed all the undesired objects around the person you shot, you can still find some defects on your seemingly perfect pictures. One of these imperfections is the so called “red eye” effect. When a camera flash goes off, a large burst of light reaches the subject’s eyes, reflects back, and gets captured in a photo. The redness is often caused by a flash at night or in dim lighting, and this defect can be hard to avoid.
If you use a digital camera, you can upload the photos to your computer and edit out the offending red eyes with a picture editing program. Home Photo Studio is a great red eye removal tool that enables you to fix this defect and restore the natural color of the eyes in the picture. Check out this tutorial on how to remove red eyes and learn how to save your ruined photos.
Download your Home Photo Studio now!
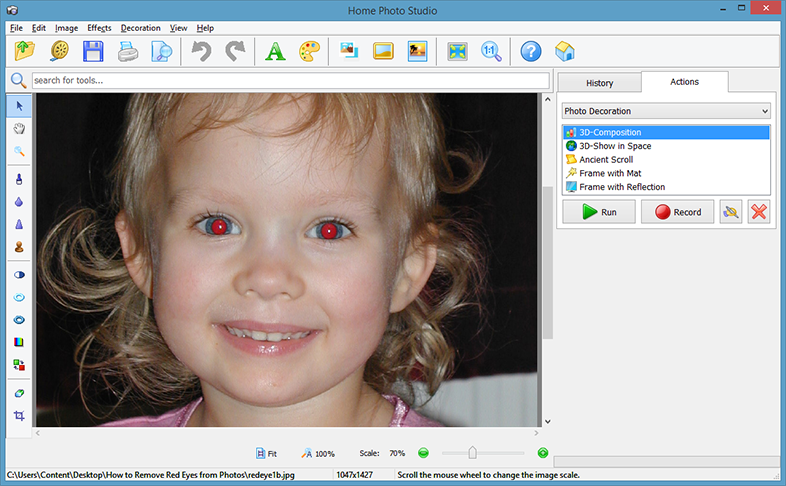
Step 1 – Add the Photo You Want to Fix
If turning off the flash of your camera does not reduce the “red eye” effect, you should install Home Photo Studio software to your computer and launch the application. Open the photo you need to fix and pick the Red Eye Removal tool. Since the software has a user-friendly interface it is easy to navigate through its numerous editing tools. If you cannot find the desired effect, type its name in the search toolbar.
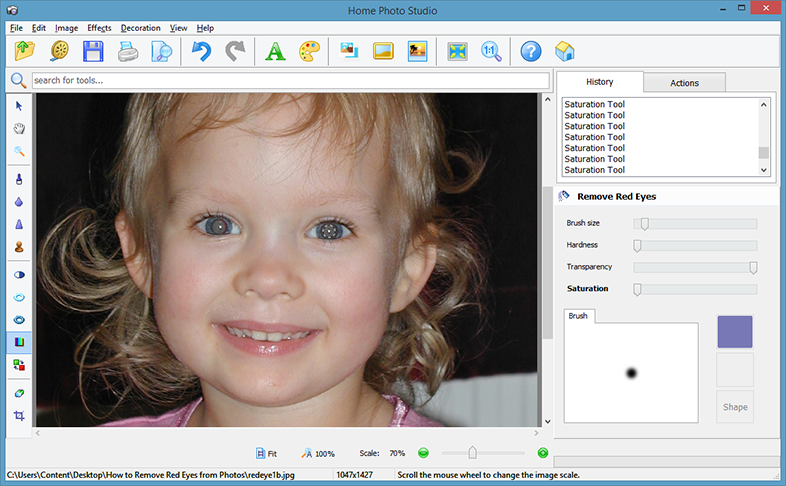
Step 2 – Use the Red Eye Removal Tool
So how to remove red eyes from the chosen photo? You will find the necessary tool under Image > Photo Fix > Red Eye Removal. Feel free to select the brush size, transparency and hardness of the effect. Zoom in your picture so that it will be easier to work with small red pupils. Move your mouse over the ruined area to remove the redness. With just a few clicks the software will automatically replace the red color of the eyes with neutral grey.
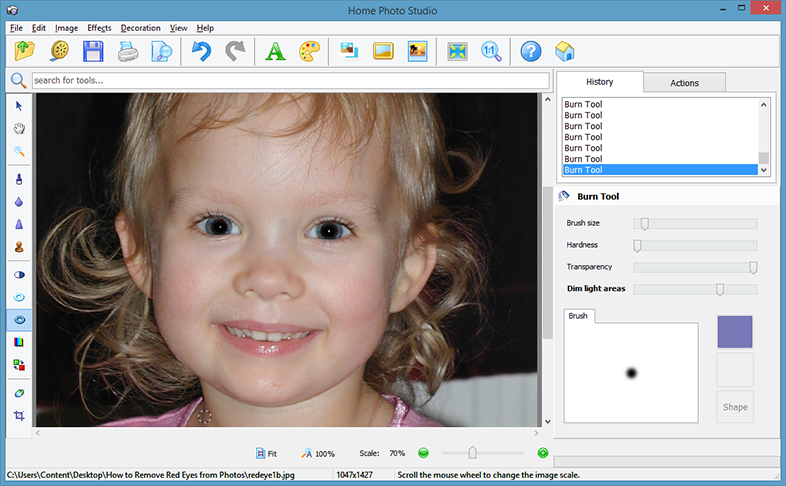
Step 3 – Restore the Natural Color of Your Eyes
The next step is to bring back the natural color of the eyes in your photo. Use the Burn tool to make the pupil black again. While applying the effect, hold the left mouse button down to evenly darken the decolorized area. As a result, it will provide a more realistic look in the eye. If you let go of the button and then start applying the burn effect again, you will add a darker layer on top of the previous one, thus making the effect stronger.
Step 4 – Save & Print the Picture You Restored
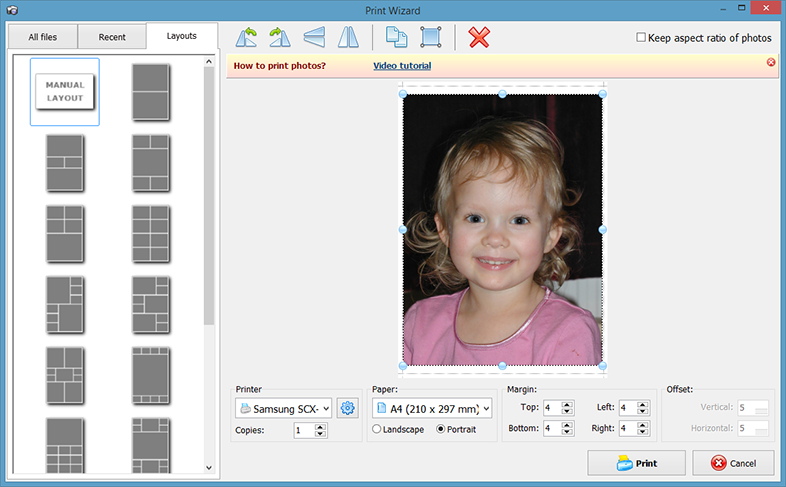
Once you have finished editing the picture, it is time to save the resulting image for your home collection or social networks. The Save for Web option enables you to optimize photos for the Internet, i.e. to slightly decrease their size but preserve great quality. If you decide to print the picture right away, the application will offer you several print layouts to simply put your photo on paper without setting margins.
Now you know how to remove red eyes, but there is much more editing tools that will help you improve your photos or decorate them with some stunning effects. With Home Photo Studio, you can easily remove unwanted objects or people from the pictures you took, blur the background to highlight the most important details, and even touch up your facial features to get rid of some skin blemishes. Try a free version today!
Download your Home Photo Studio now!
The program is compatible with Windows 11, 10, 8, 7